

The Weaving Handout

I am not promising peace on earth, but weaving with a young family member can be very satisfying and give everyone a little slow time during the Holidays.
This is the content of my most essential weaving handout annotated for step-by-step weaving on any thing... in this example, a 4x6” cardboard rectangle. With 15-17 wraps of the warp (say that ten times fast), you can make a bookmark or a doll-house rug.
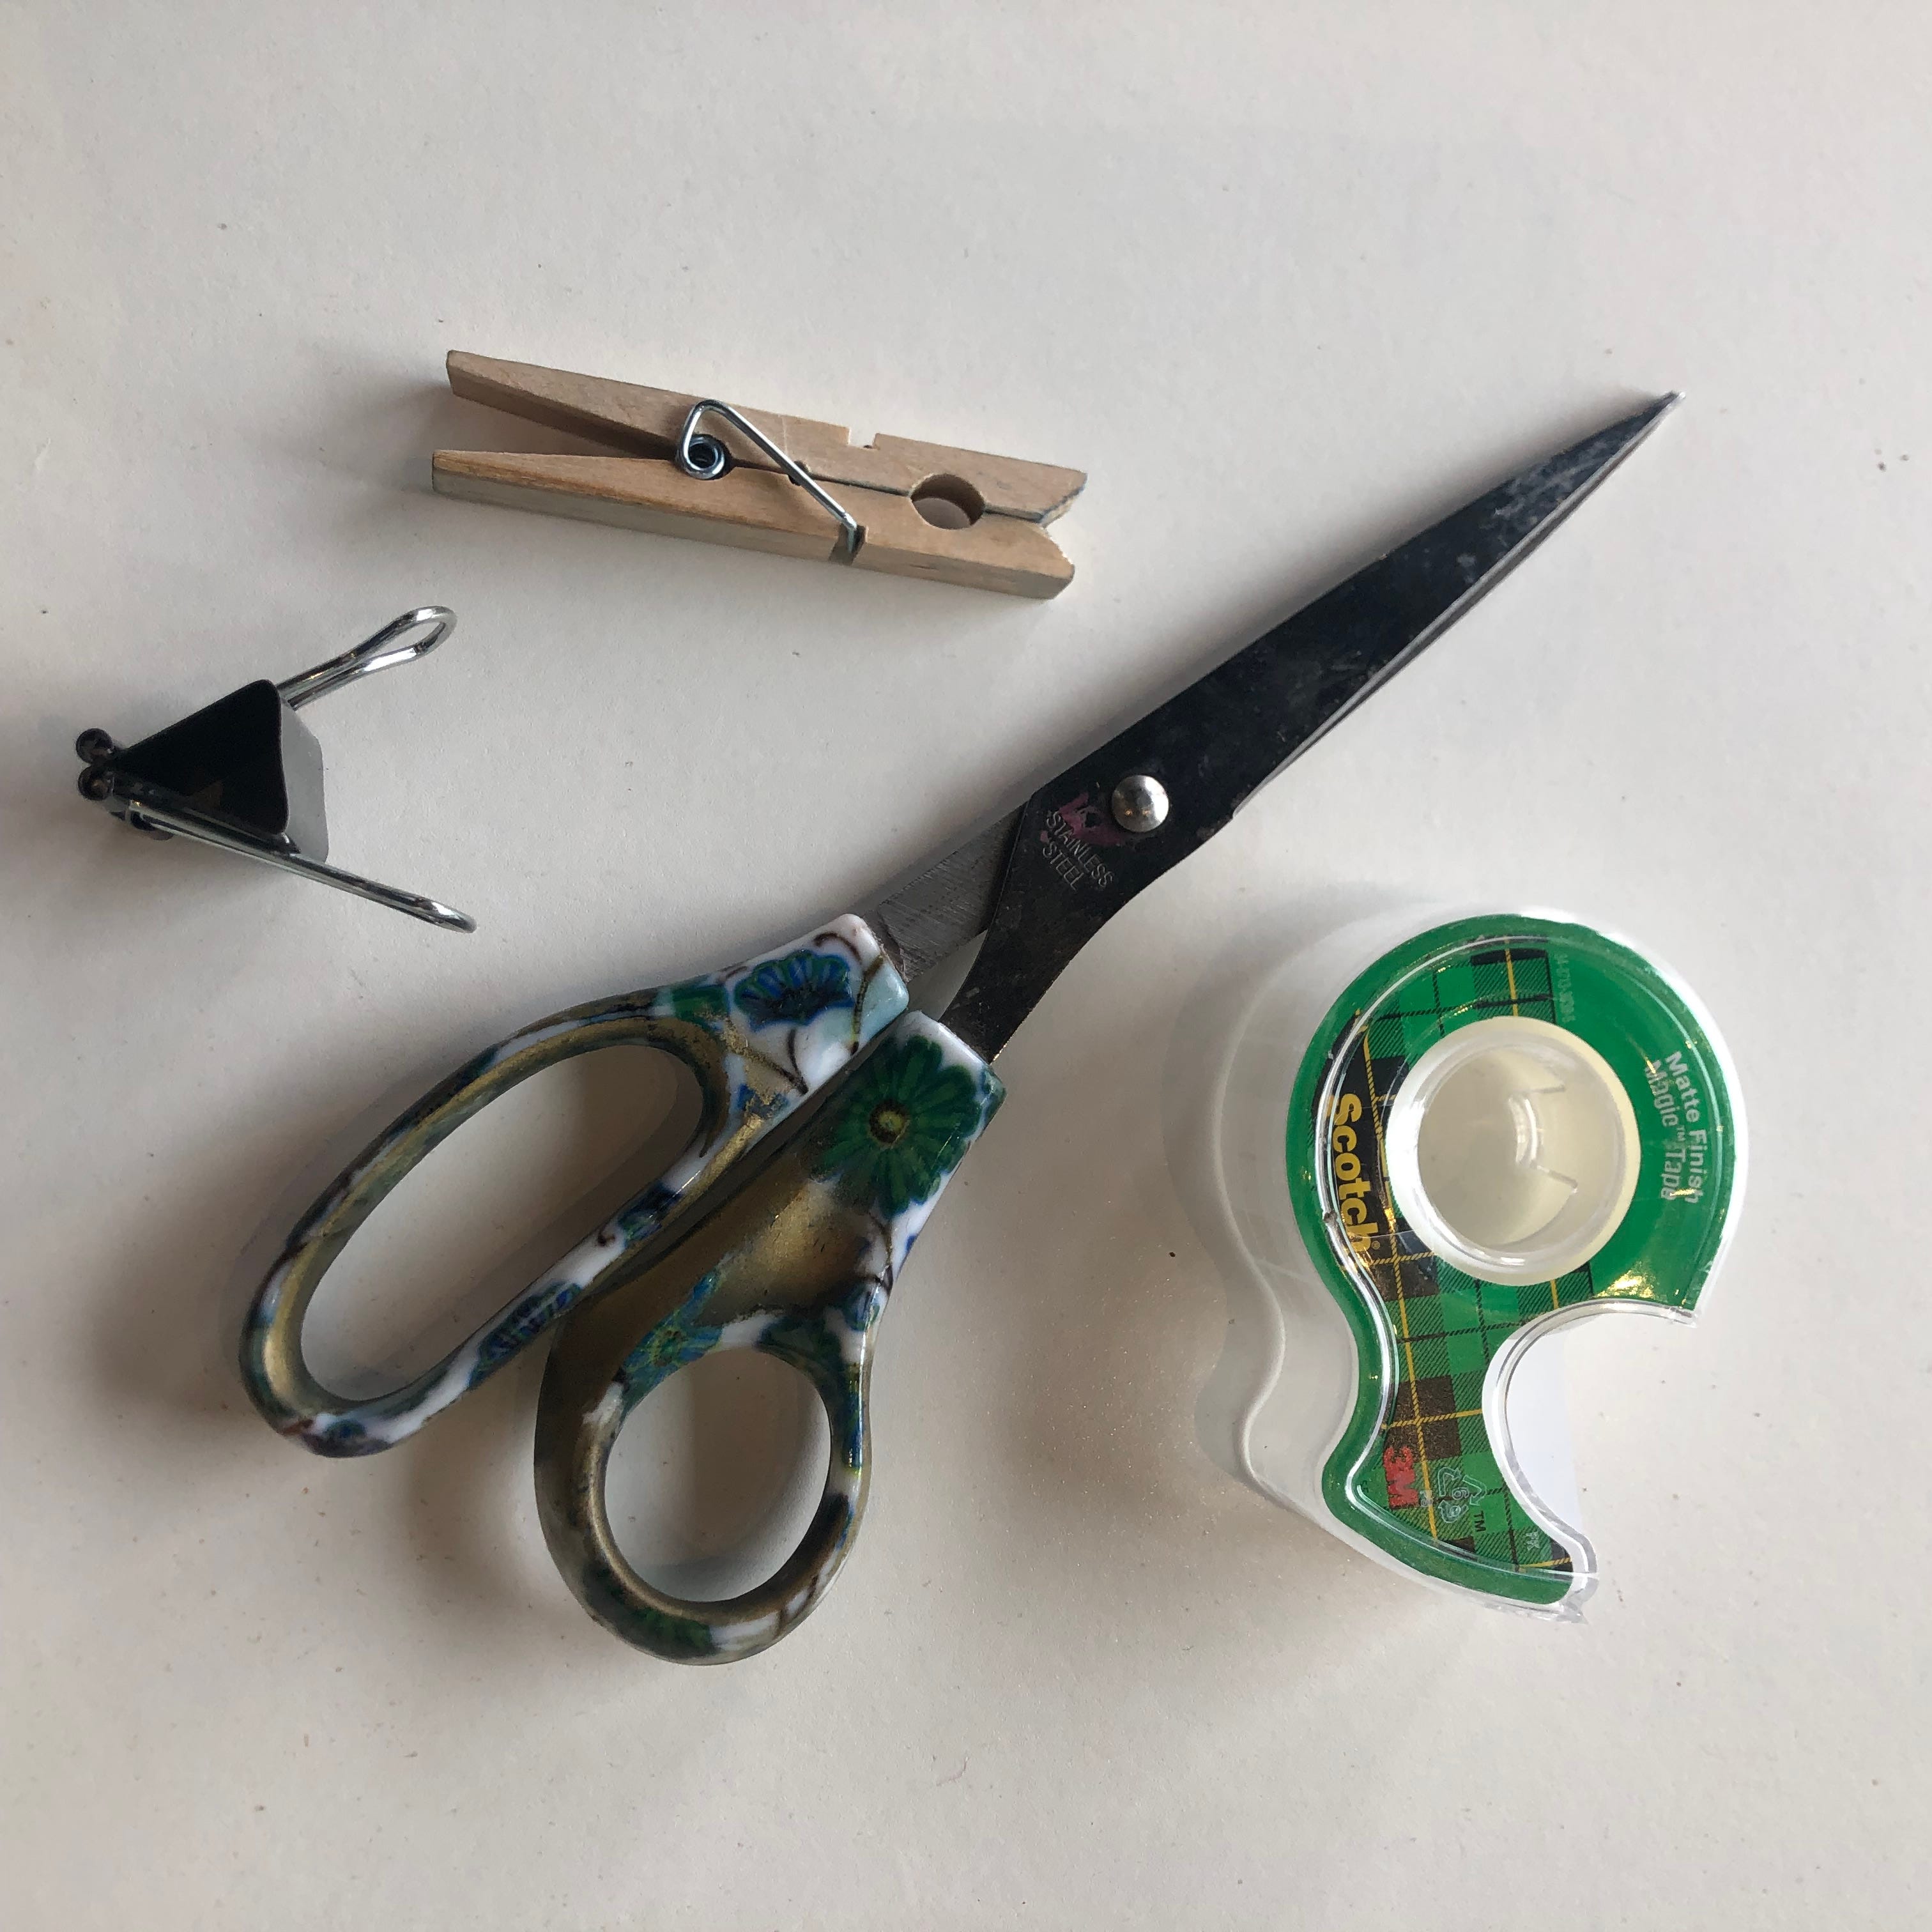
You will need a loom and a shed-stick1 plus yarns for warp and weft. The best yarns for warp are smooth and un-elastic not too thin, something like string or cotton crochet thread. The weft can be soft, stringy, scratchy, even fluffy. You will also need scissors and tape. Measure off 18-24” of weft yarn and make it into a butterfly by wrapping it in figure-eights over your fingers.

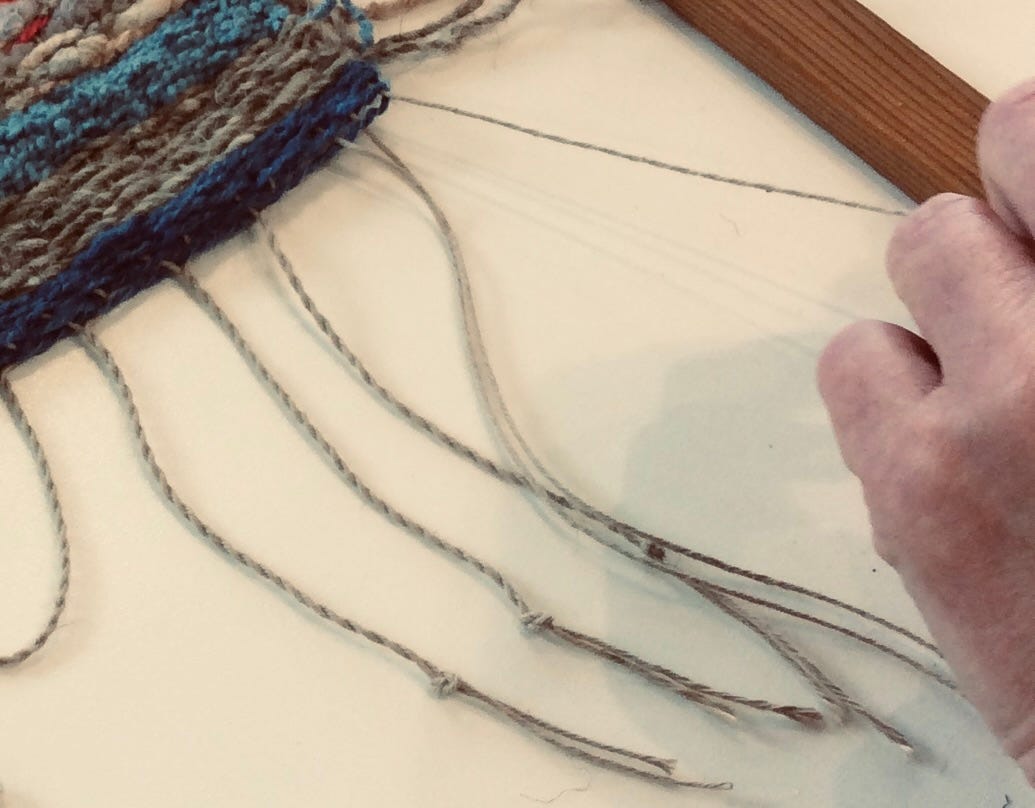
Putting the warp on the loom is called warping. if you are not a fan of knot-tying, clips will hold the ends just fine.

Use the shed-stick to raise every-other warp thread, then pass the butterfly of weft under this shed. Make a small hill with the weft so it doesn’t pull in too tight. Use the shed stick to gently “beat” the weft into place.

Eventually, your neat and tidy butterfly will turn into a small cloud of yarn.
Just keep weaving!
When you get to the end of the weft, cut some more (the same or different yarn) and overlap the ends as you weave along. When you are happy with your little weaving, turn the loom over and cut across the warp threads. tie or braid the cut ends to make a fringe
!
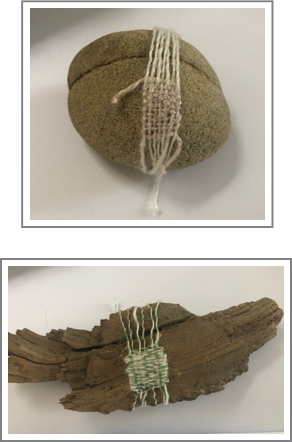
OTHER THINGS TO WEAVE ON2
You can make a shed stick from anything (including a stick!). Rulers, strips of cardboard, chop-sticks, or specially carved tools.
I am offering a workshop which I call Spiderweb Weaving. Perfectly useless but decorative experiments in mixing yarn with found objects.
Thanks so much for sharing June. This is great!